Appearance
Set up color swatches
This guide describes how to set up color swatches to represent variants of a product.
A single product can have many variants. For example, a clothing product might have variations in pattern, size, and color. Refer to Shopify help: Variants.
Use color swatches to provide your store's visitors with selectable icons to represent each variant of a particular product.

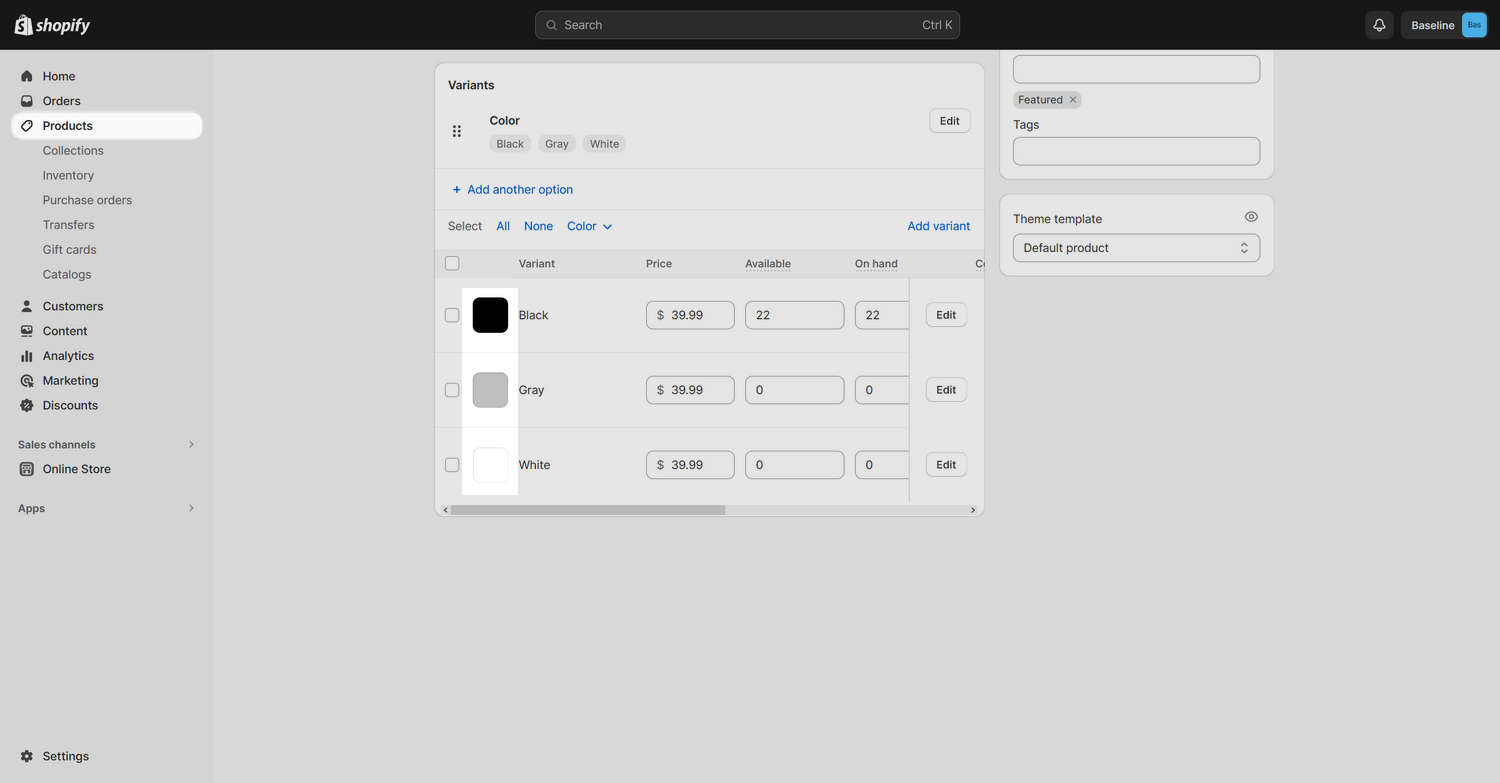
The previous image shows a store's Product page. In the center right, the color swatches icons indicate that the "T-Shirt" product has the color variants Black, Gray, and White.
Turn on color swatch use
To turn on the use of color swatches for Product pages, complete the following steps.
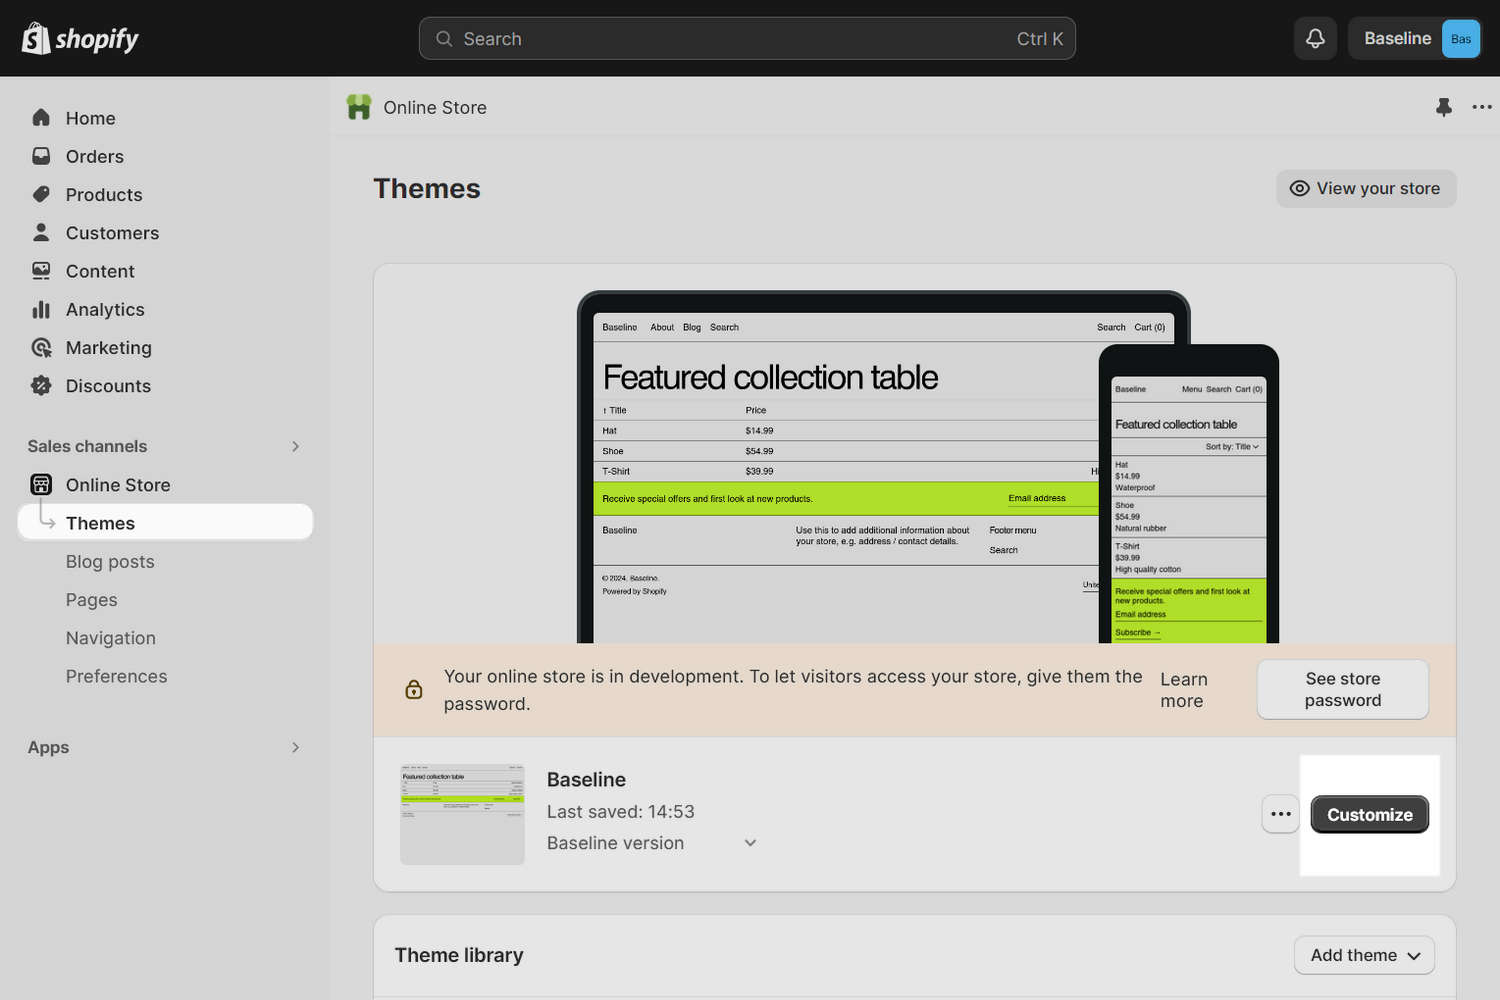
On your store's Shopify admin page, on the side menu, select Sales channels > Online store > Themes.
In the Current theme or Theme library area, locate the version of Baseline you want to modify, and then select Customize to open Theme editor.
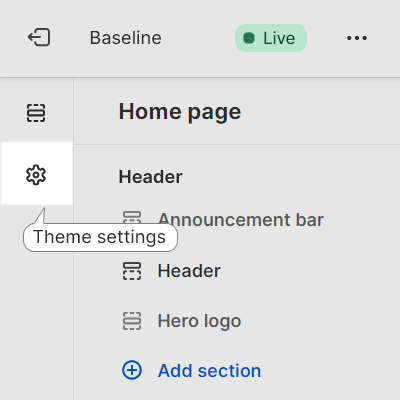
From the Theme editor menu, select Theme settings.
From the Theme settings menu, select Products to expand the menu options.
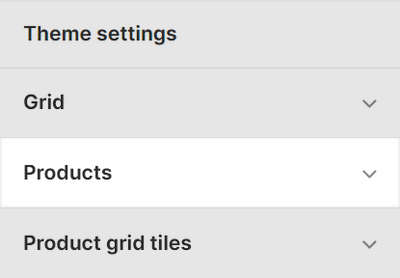
On the Products menu, locate the Color swatches menu area.
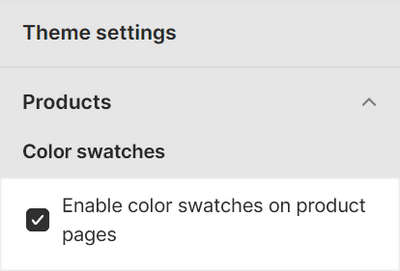
Select the checkbox Enable color swatches on product pages to turn on using color swatches for Product pages.
TIP
When you're finished adjusting the theme, to avoid losing your unsaved changes, select Save at the top of the Theme editor.

Use color swatches on Product pages
To use color swatches on Product pages, add variants to your store's products, and then complete the following steps. Refer to Shopify help: Add variants to a product.
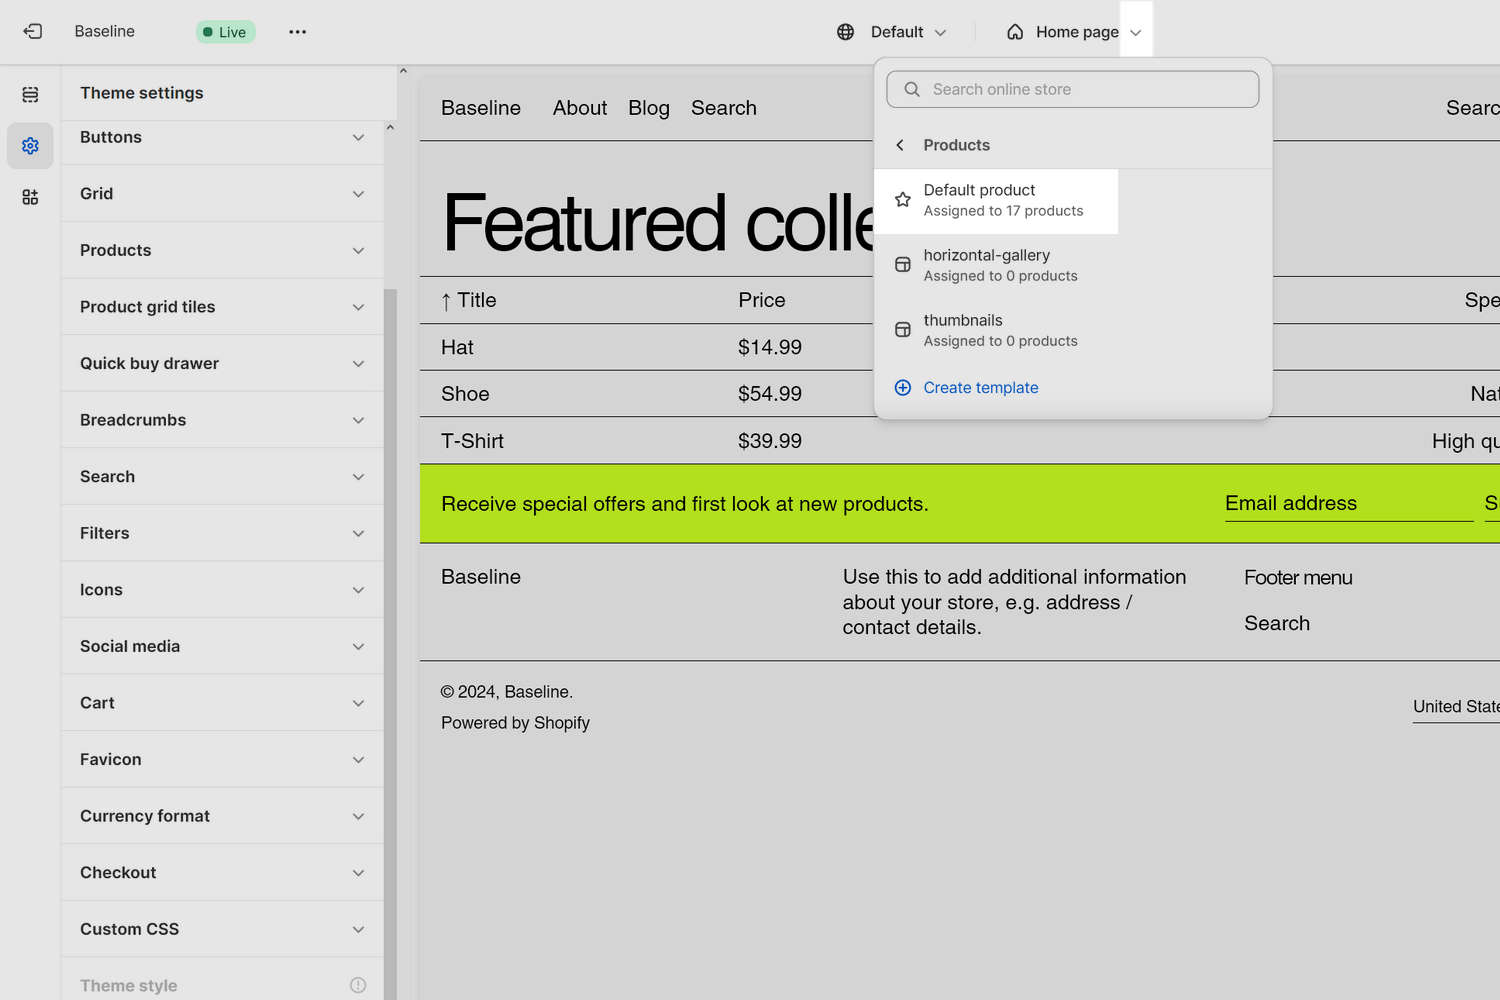
In Theme editor, use the dropdown at the top to select a Product template.
For example, select Products > Default product.
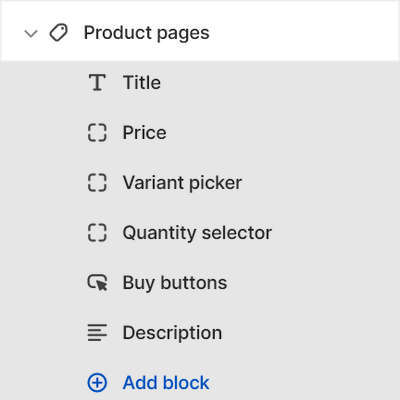
On the side menu, expand the Product pages section menu.
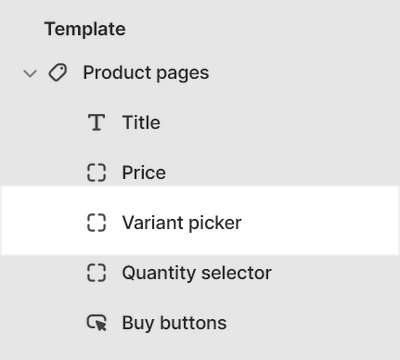
On the Product pages section menu, select the Variant picker block.
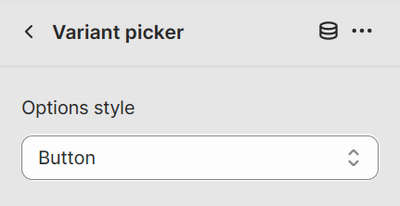
On the Variant picker block menu, set Options style to Button.
Setup a product variant to use swatches
By default, color swatches are enabled or "triggered" for product variants named Color or Colour. You can trigger the use of swatches with other product variants, like patterns or textures.
To setup a product variant to use swatches, complete the following steps.
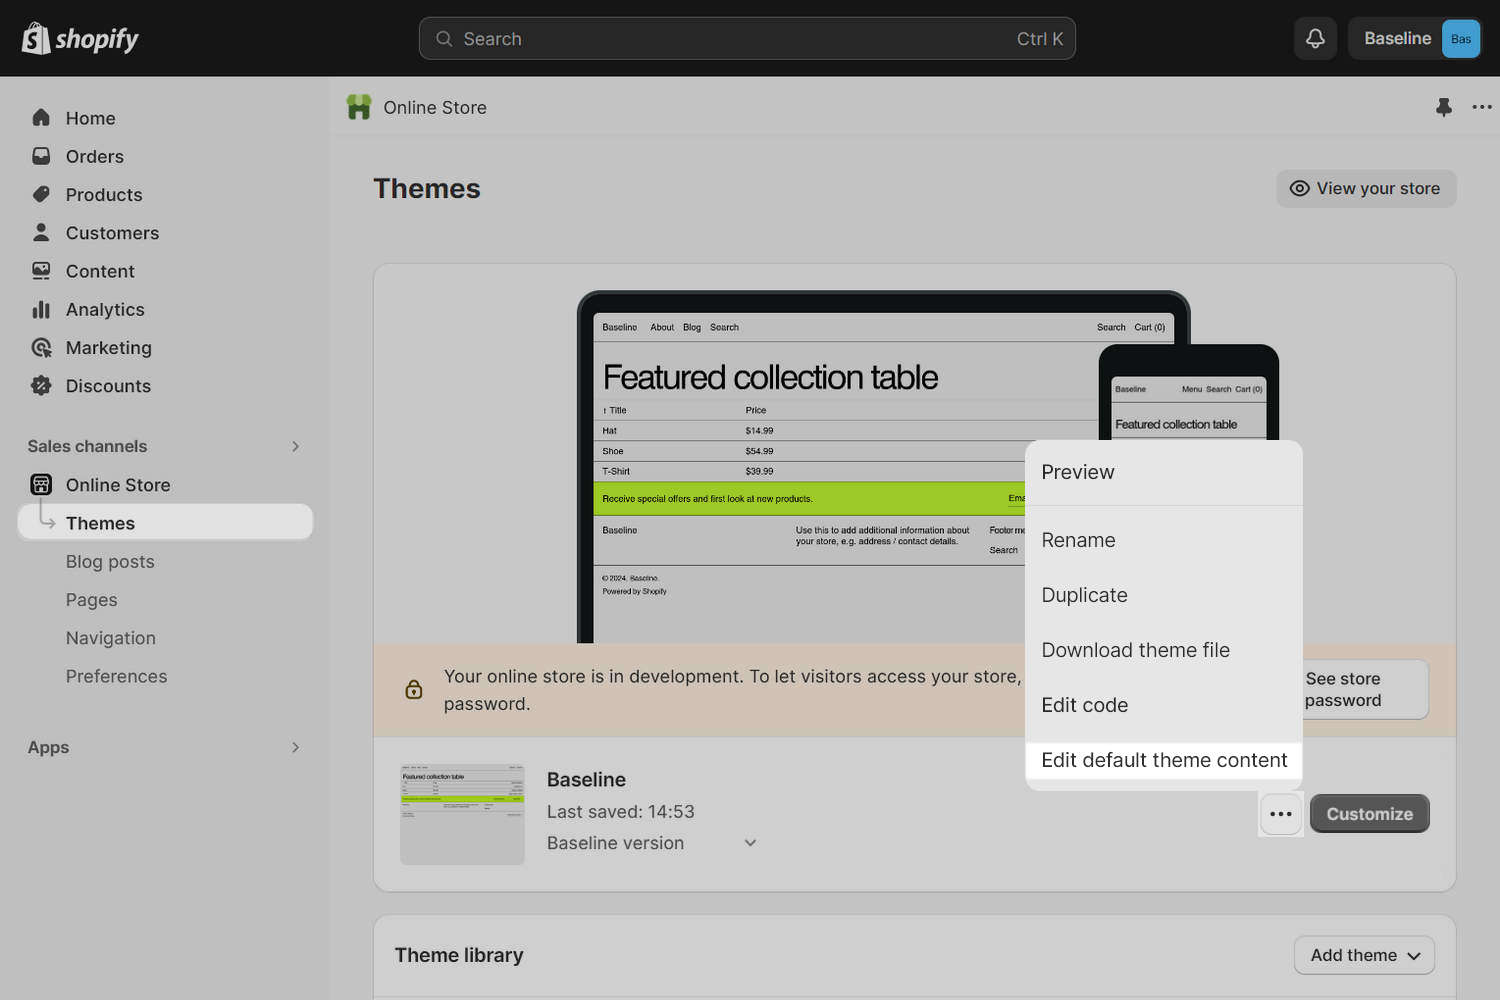
On your store's Shopify admin page, on the side menu, select Sales channels > Online store > Themes.
In the Current theme or Theme library area, locate the version of Baseline you want to modify, and then select "..." (the ellipsis icon) to open the Actions menu.
From the Actions menu, select Edit default theme content.
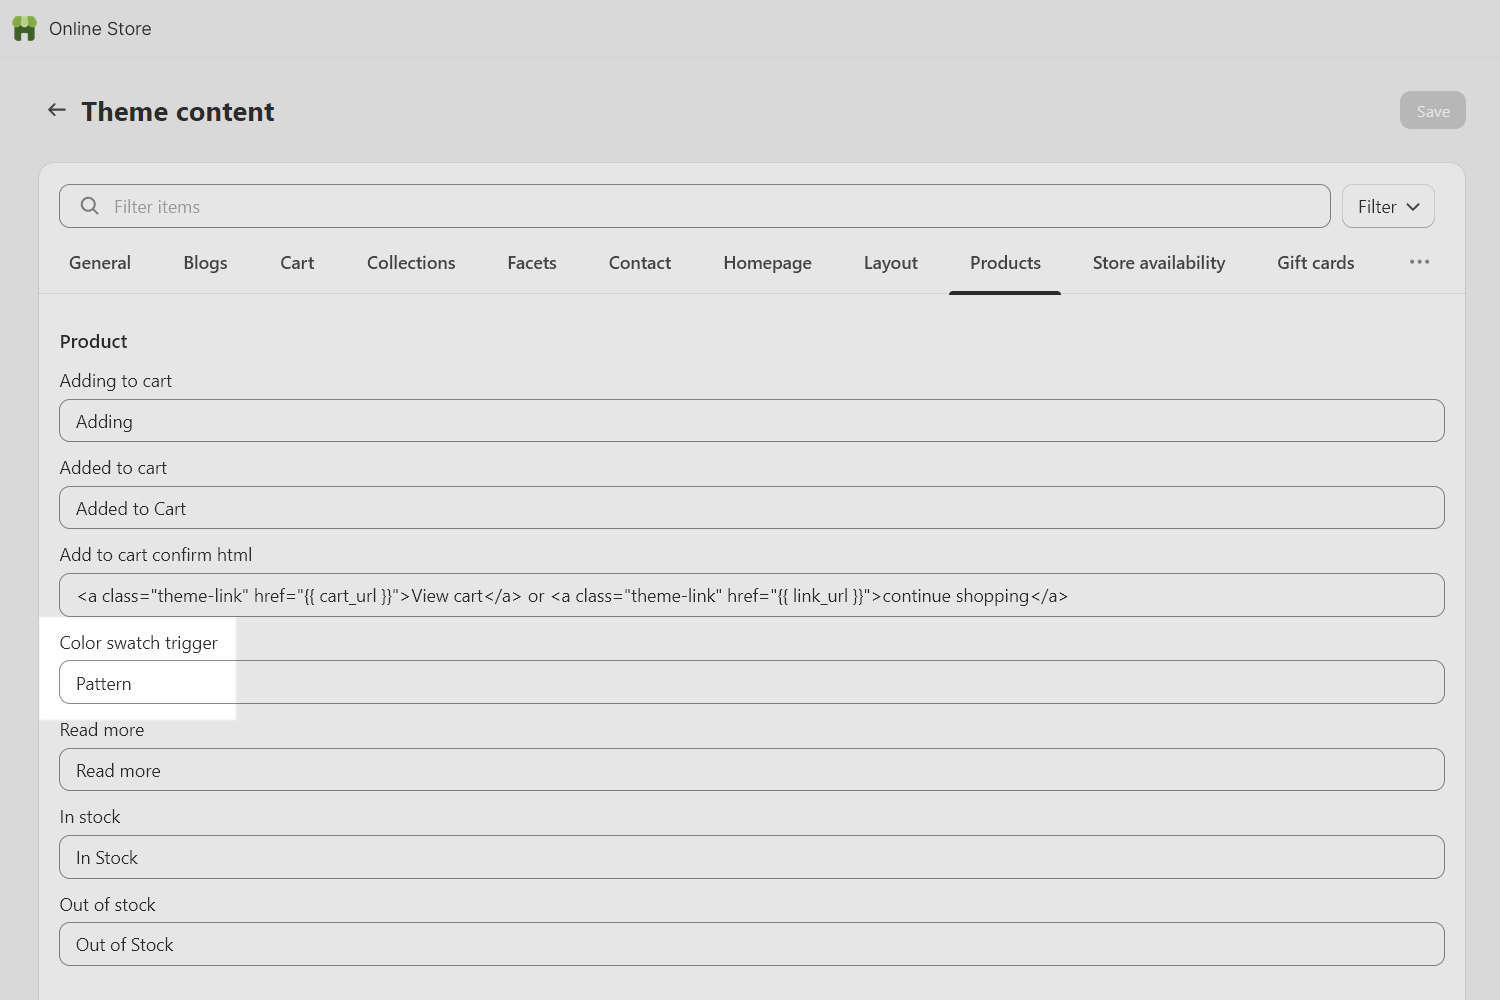
On the Theme content page, select the Products tab.
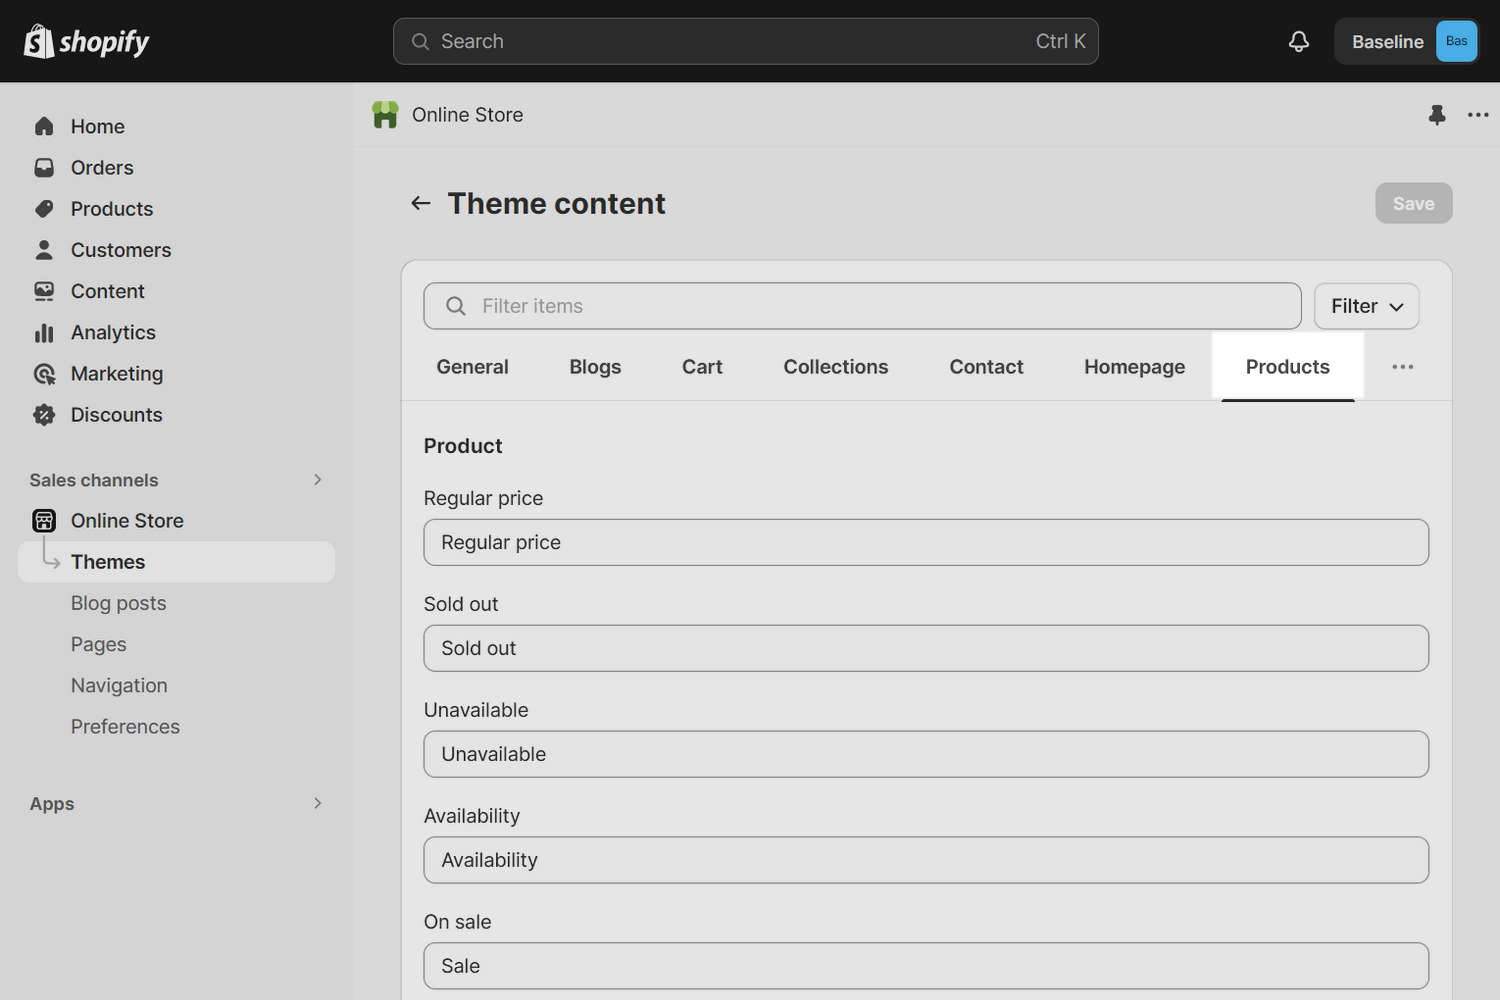
Locate the Product > Color swatch trigger textbox, and then, in the textbox, enter a name for the product variant that will use swatches.
For example, enter Pattern into the textbox. Now, whenever a product has a variant named Pattern, you can use a swatch icon to represent each pattern variant.
Select Save.

Use a png image as a color swatch icon
With Baseline, you can choose a png image file to use as an icon for a color swatch. To use a png file as an icon, complete the following steps.
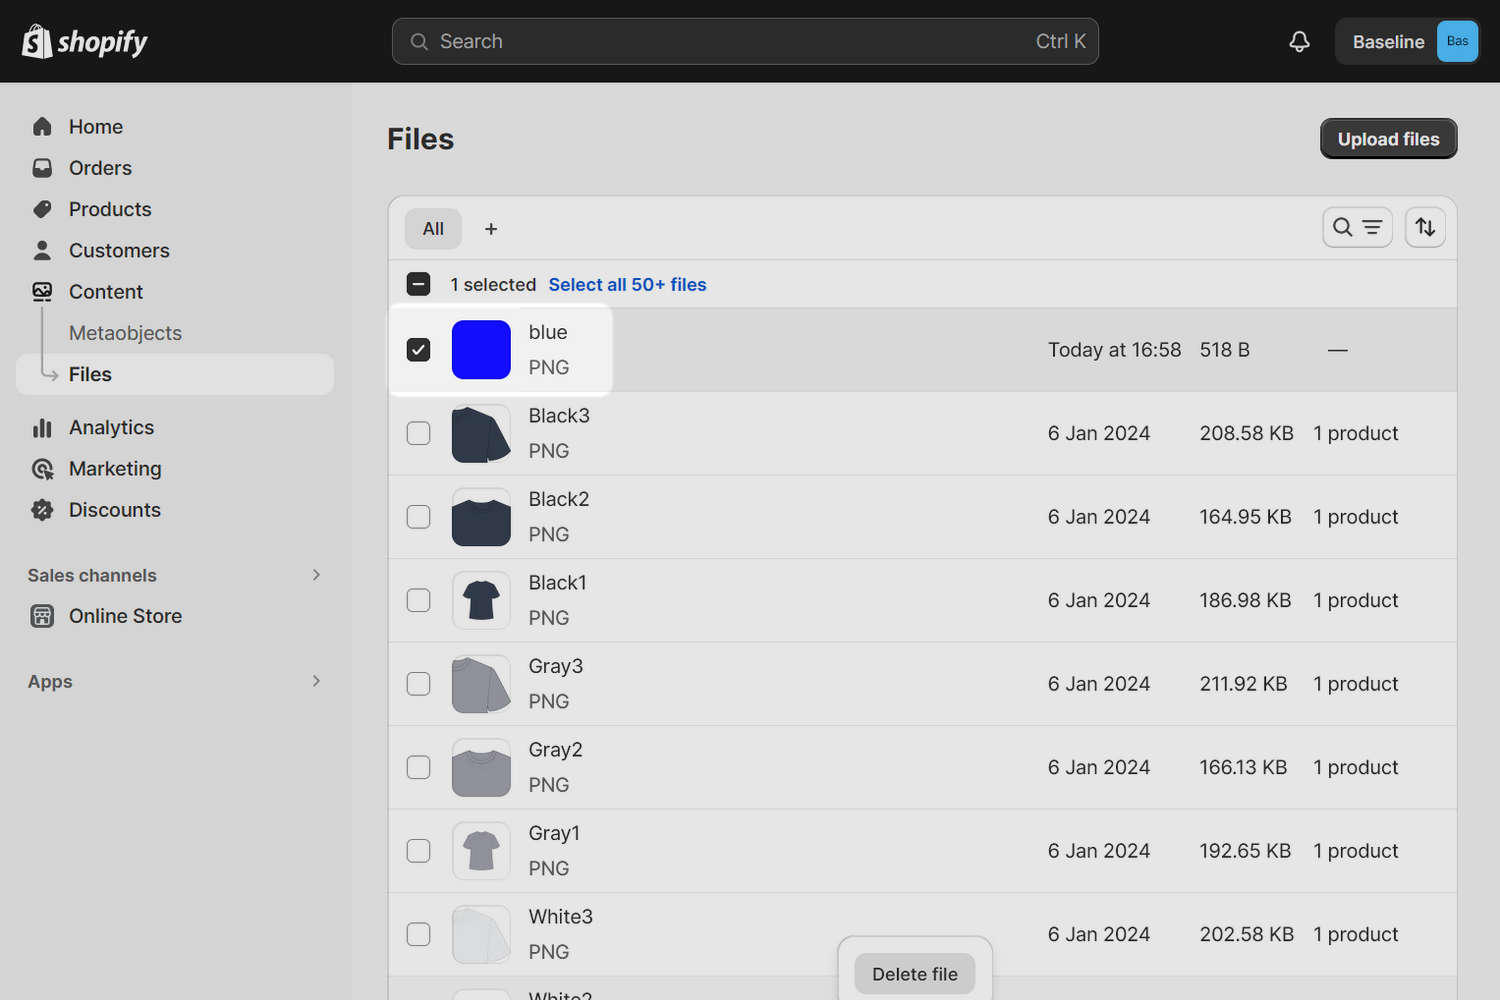
On your store's Shopify admin page, select Content > Files.
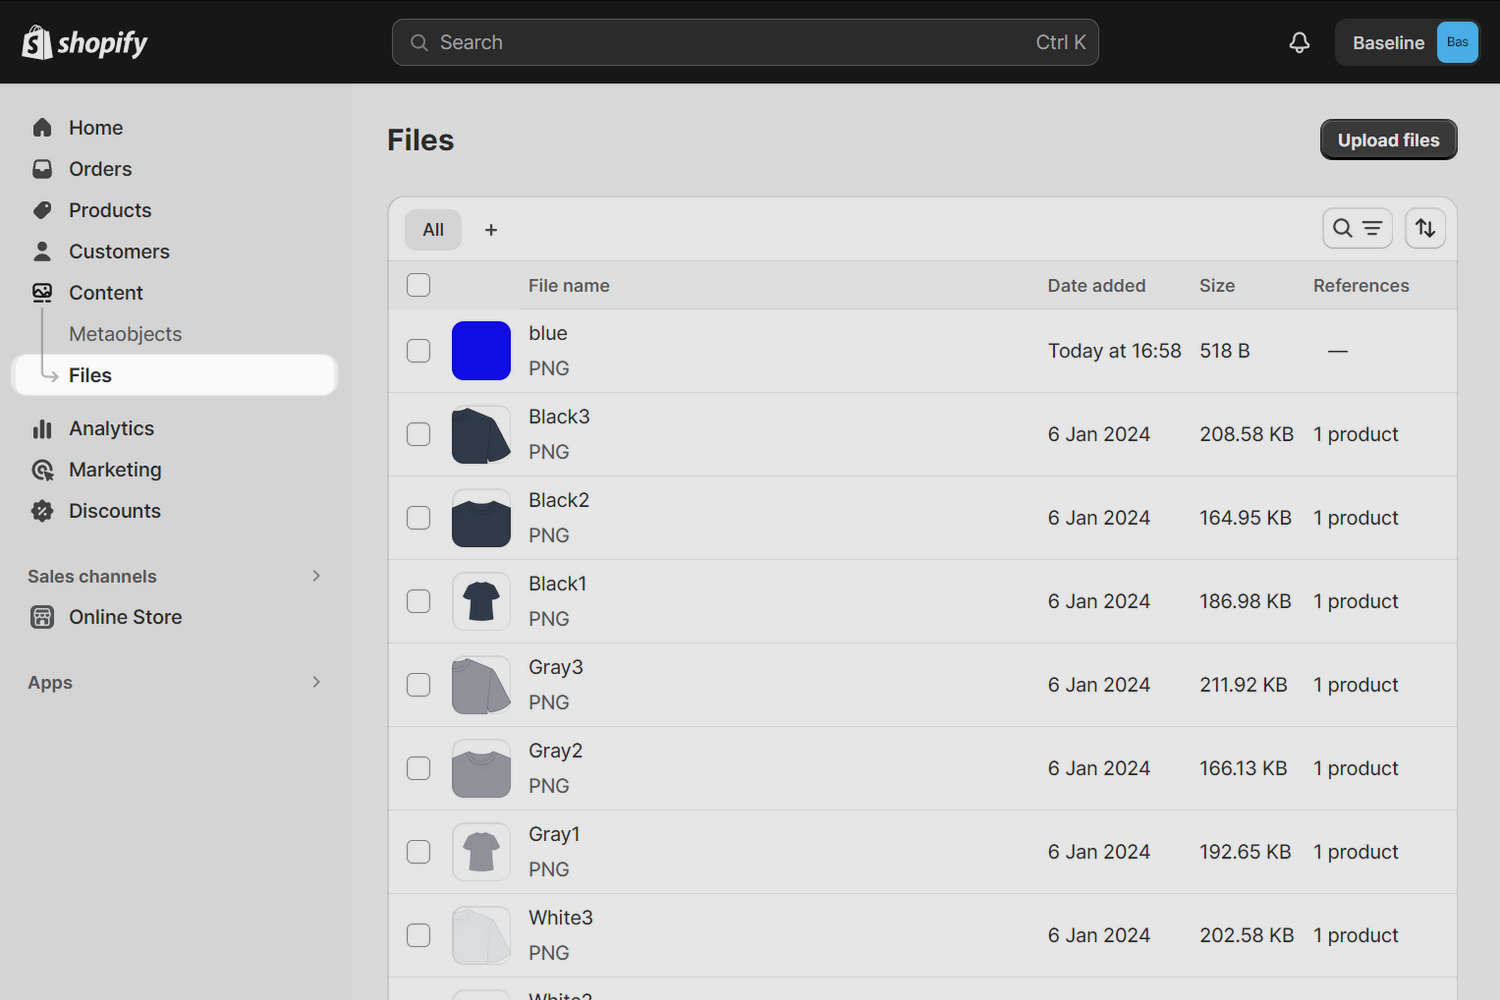
Select a png file from the Files list.
For example, in the following image, the file blue.png is selected. Now, when a product has a variant named
blue, the blue.png file is used as the color swatch icon.Alternatively, to upload a new png file, select Upload files, and then choose a png file on your computer or enter a URL for an image file.
Select Save.
Note
The following lists the criteria for using image files as color swatch icons.
- the image file format must be png.
- image filenames must be lowercase.
- image filenames cannot contain spaces; instead, you can use hyphens in the filename.
- special characters are not permitted in image filenames.
Example: Color swatch names with corresponding png image filenames
The following table provides examples of color swatch names and their corresponding png image filenames.
| Color swatch name | PNG image filename |
|---|---|
| Black | black.png |
| Rose Gold | rose-gold.png |
| Green/Yellow | green-yellow.png |
If a png image filename matches the name of a color swatch, Baseline theme uses the png as an icon for the swatch. Otherwise, Baseline uses a CSS color (if a CSS color with the same name as the swatch exists). Refer to CSS Colors for list of CSS colors.
Set up an image file for a product variant
To set up an image file to use for a product variant on a Product page, complete the following steps.
On your store's Shopify admin page, select Products.
Select a product from the Products list.
In the Variants area, select the Add image icon for the required product variant.
Select an existing image file to use, or choose Add image to upload a new image, and then select Done.
Select Save.