Appearance
Checkout
This guide describes the Theme settings > Checkout menu options.
Use the settings to customize parts of your store's Checkout page. Refer to Shopify help: Checkout.
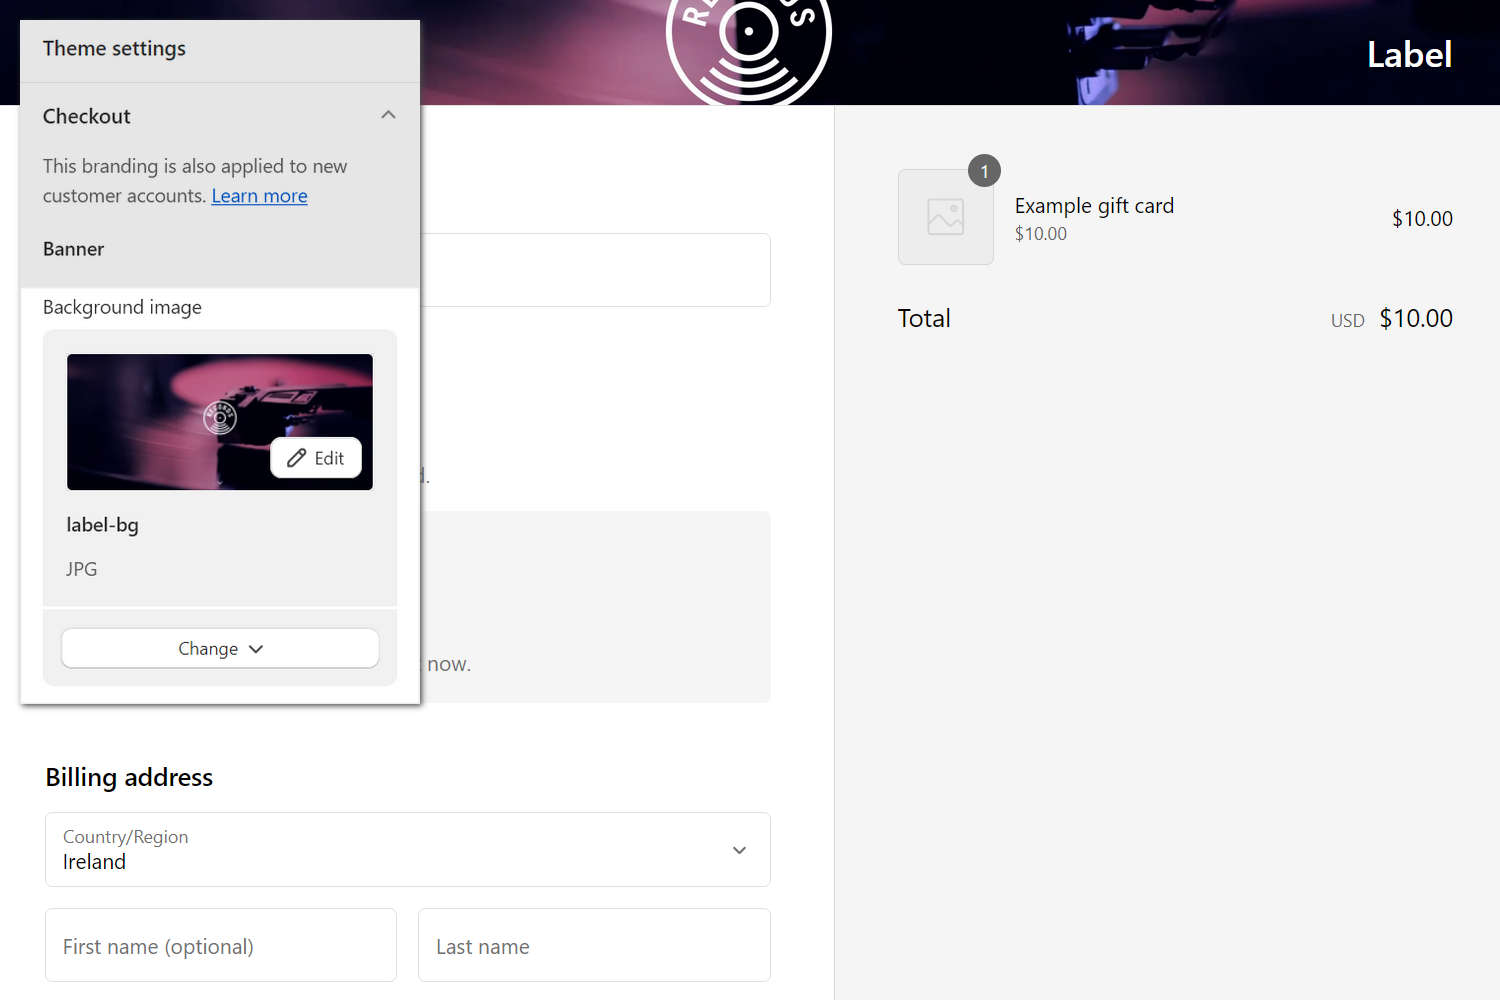
The previous image shows a store's Checkout page. At the top of the page, a background image is displayed in the page's banner area. On the left, part of the Theme settings > Checkout menu is displayed. In the menu, the Background image selector specifies the image displayed in the banner area.
For general guidance with adjusting a theme setting, refer to Settings overview and Shopify help: Theme settings.
Configure checkout settings
To configure settings for your store's Checkout page:
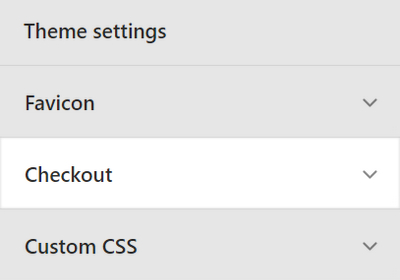
Go to Theme settings > Checkout.
Select a setting described in the following table.
| Setting name | Description |
|---|---|
| Learn more (link) | Follow the Learn more link to open the page Shopify help: Customer accounts. Read the article to learn about managing your store's customer accounts. The branding you set up on your store's Checkout page applies to new customer accounts. |
| Banner > Background image | Use the Background image selector options to setup a background image for the Checkout page's banner area. The recommended image dimensions are 1000px x 400px (pixels). Refer to Add, replace or remove an image or video inside a section or block. |
| Logo > Custom image | Use the Custom image selector options to setup a custom image for the Checkout page's logo area. Refer to Add, replace or remove an image or video inside a section or block. |
| Logo > Position | Use the Position setting to specify a position for the logo image, inside the Checkout page's logo area. The options are Left, Center or Right. |
| Logo > Logo size | Use the Logo size setting to specify a size for the logo image, inside the Checkout page's logo area. The options are Small, Medium or Large. |
| Main content area > Background image | Use the Background image selector options to setup a background image for the Checkout page's main content area. The image is repeated or "tiled" vertically and horizontally on the page. Refer to Add, replace or remove an image or video inside a section or block. |
| Main content area > Background color | To set a background color for the Checkout page's main content area, select Background color, and then use the color picker, enter a hex color value, or choose a Currently used color. |
| Main content area > Form fields | Use the Form fields setting to specify a background color for the data entry fields, inside the main content area's data submission form, on the Checkout page. The options are White or Transparent. |
| Order summary > Background image | Use the Background image selector options to setup a background image for the Checkout page's order summary area. The image is repeated or "tiled" vertically and horizontally on the page. Refer to Add, replace or remove an image or video inside a section or block. |
| Order summary > Background color | To set a background color for the Checkout page's order summary area, select Background color, and then use the color picker, enter a hex color value, or choose a Currently used color. |
| Typography > Headings | Use the Headings dropdown to select a font for heading (title) text on the Checkout page. |
| Typography > Body | Use the Body dropdown to select a font for body text on the Checkout page. |
| Colors > Accents | To set a color for the Checkout page's accented text, select Accents, and then use the color picker, enter a hex color value, or choose a Currently used color. The color applies to links, highlights, and checkmarks on the Checkout page. |
| Colors > Buttons | To set a color for the Checkout page's buttons, select Buttons, and then use the color picker, enter a hex color value, or choose a Currently used color. The color applies to Gift card, Discount, and Next step buttons on the Checkout page. |
| Colors > Errors | To set a color for checkout error message, select Errors, and then use the color picker, enter a hex color value, or choose a Currently used color. The color applies to error and invalid field messages on the Checkout page. |
| Checkout settings > Visit the admin (link) | Follow the Visit the admin link to open the Checkout page in your store's Admin. Use the page to access your store's checkout settings. Refer to Shopify help: Shopify checkout. |