Appearance
Blog posts
This guide describes setting up a Blog posts section to display a selection of blog posts (articles) on a store page. Use blog posts to write about new products, collections, promotions or other news. Refer to Shopify help: Blogs.
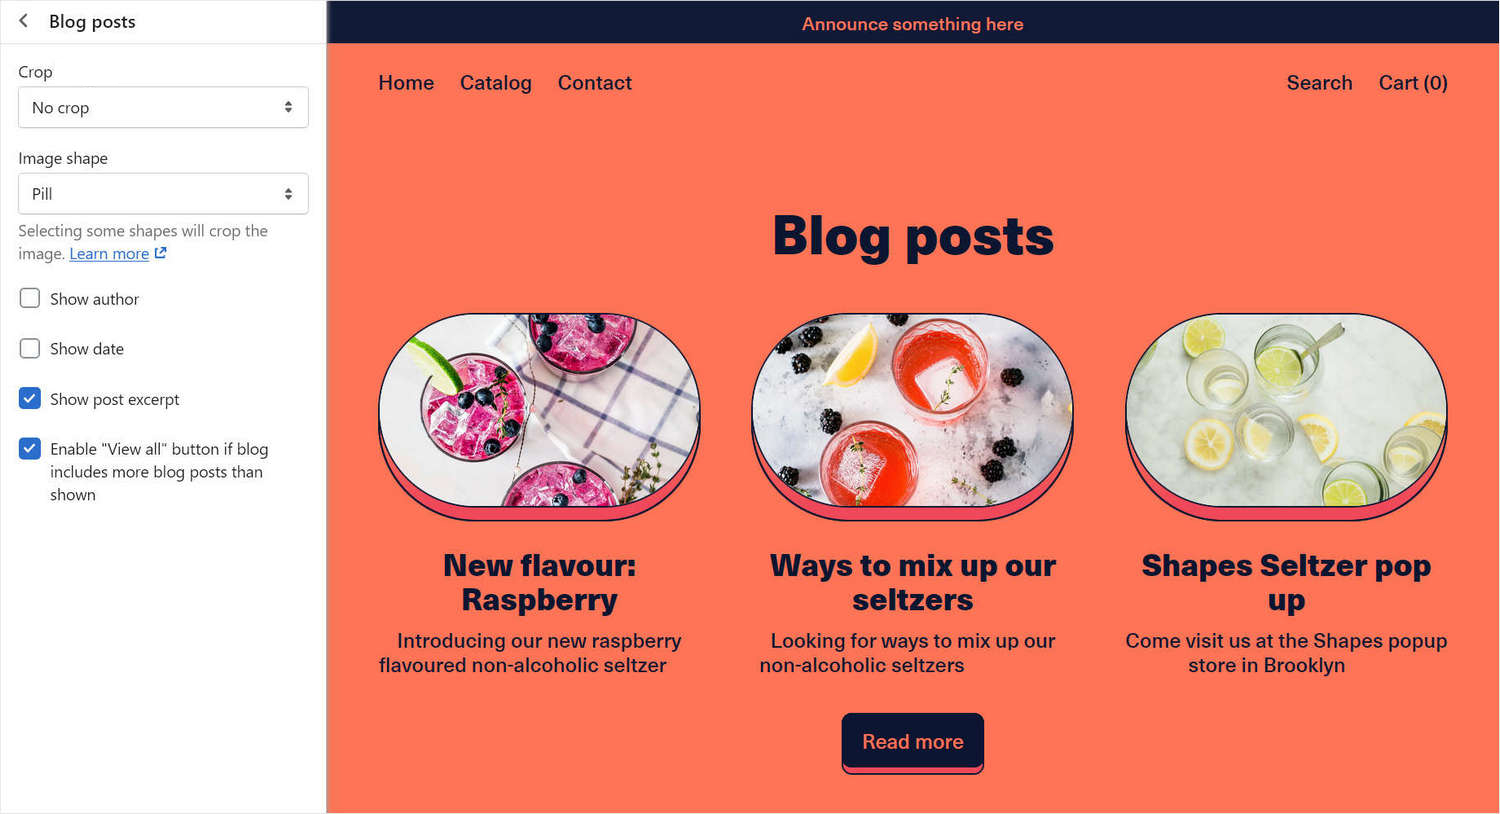
The previous image shows a Blog posts section in Theme editor, with the following section settings:
- To turn off cropping for images inside the section, the Crop dropdown is set to No crop.
- The Image shape dropdown is set to Pill, to specify a shape for images inside the section.
- To hide the authors' names and posting dates, the checkbox options to Show author and Show date are set to
off. - The Show post excerpt checkbox option is set to
on. This displays a summary of each blog post inside the section. - To show a Read more button inside the section, the checkbox option is enabled to Enable "View all" button if blog includes more blog posts than shown. The button provides a link to the entire blog.
For general guidance with modifying sections, refer to Sections overview and Shopify help: Sections and blocks.
Set up a blog posts section
To set up a blog posts section:
Go to Customize theme. At the top of the page, use the dropdown to select a template that contains a blog posts section. For example, select the Homepage template.
Note
The blog posts section can be added into any page, except Checkout and Giftcard pages. To add a blog posts section into the current page, select Add section > Blog posts. Refer to Shopify help: Add a section.
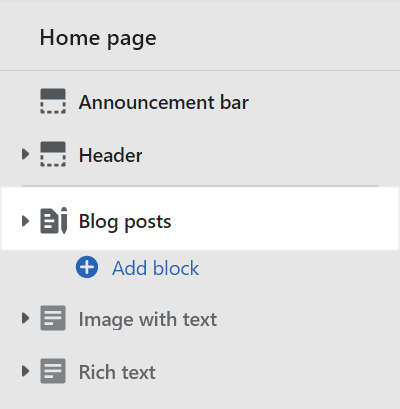
From the side menu, select Blog posts.
Select a section setting described in the following table.
| Section setting name | Description |
|---|---|
| Display posts on cards | Select the checkbox Display posts on cards to show/ hide a card behind every blog post tile inside the section. Refer to Shopify help: Cards. |
| Heading | In the Heading box, enter text to display as a title inside the section. |
| Blog | Use the Blog menu options to set up a blog to display inside the section. By default, the News blog is selected.
|
| Posts | Adjust the Posts slider to set the number of blog posts to display inside the section. The minimum number is 3 and the maximum is 20. Each post is contained within a dedicated tile inside the section. |
| Crop | Select the Crop dropdown to set a shape for the images inside the section. The dropdown options are: No crop, Landscape, Square and Portrait. |
| Image shape | Use the Image shape dropdown to set a shape for images inside the blog post tiles. Shapes theme provides more than 40 different shapes for images. Some shapes will crop the image. Refer to Style images and videos with shapes. |
| Show author | Select the Show author checkbox to show/ hide the name of a post's author inside the section. |
| Show date | Select the Show date checkbox to show/ hide the posting date for posts inside the section. |
| Show post excerpt | Select the Show post excerpt checkbox to show/ hide a summary of each post inside the section. |
| Enable "View all" button if blog includes more blog posts than shown | To show/ hide a Read more button inside the section, select the checkbox Enable "View all" button if blog includes more blog posts than shown. The button provides a link to the whole blog. |
| Color > Color scheme | Use the Color scheme dropdown to set the color scheme for the section to Primary, Secondary, Tertiary, or Quaternary. Refer to Colors. |
| Use gradient for background | Select the checkbox Use gradient for background to turn on/ off using a gradient as the section's background. |
| Theme settings | Select Theme Settings to access additional settings for the section. Refer to Section theme settings menu. |
| Remove section | Select Remove section to delete the section from the current page. |
Configure a block within a blog posts section
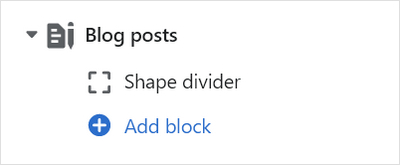
A default Blog posts section contains a Shape divider (block). To configure a block inside the section:
Go to Customize theme. At the top of the page, use the dropdown to select a template that contains a Blog posts section.
From the side menu, expand the Blog posts section menu.
To configure an existing block, select the block from the side menu.
To add a new block, select Add block, choose a block to add, and then select the block you added.
Note
Inside the section, you can add, remove, show/ hide, or move blocks. Refer to Configure blocks inside a section, and Shopify help: Sections and blocks
Apply a block setting described in the following table.
The blocks indicated with an asterisk
*are contained in a default Blog posts section.
| Block name | Block description | Block setting(s) |
|---|---|---|
| Background pattern | Displays a stylistic pattern as a background inside the section. | Refer to Background pattern. |
| Background shape | Displays a stylistic shape as a background inside the section. | Refer to Background shape. |
| Sticker | Overlays the section with a stylized sticker. | Refer to Stickers. |
Shape divider* | Displays a stylized separator between the current section and the next/ previous section. | Refer to Shape divider. |