Appearance
Logo list
This guide describes setting up your store's Logo list section. Use the section to display a list of logos associated with the items in your store. For example, a fashion store might display logos for the brands they stock.
In the following image, a Logo list section is displayed on a store's collection page. Logos for the collection's popular brands are listed above The collection. Selecting a logo opens the corresponding brand's homepage.
![]()
For general guidance with modifying sections, refer to Sections overview.
Set up a logo list section
To set up a logo list section:
Go to Customize theme. At the top of the page, use the dropdown to select a template that contains a logo list section.
Note
The logo list section can be added into any page, except Checkout and Giftcard pages. To add a logo list section into the current page, select Add section > Logo list. Refer to Shopify help: Add a section.
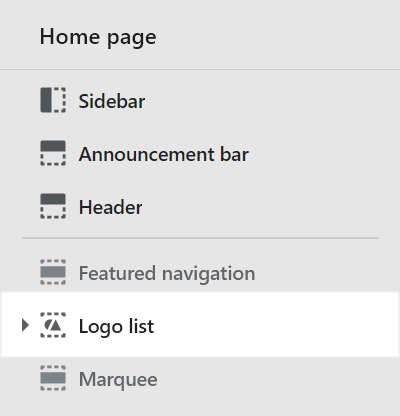
From the side menu, select Logo list.
Select a section setting described in the following table.
| Section setting name | Description |
|---|---|
| Heading | Use the Heading box to enter text to display as a title inside the section. |
| Logo max width | Select the slider Logo max width to set a width for the logo image(s), inside the section. The minimum slider value is 20px or pixels, and the maximum value is800 px. |
| Color > Color scheme | Use the Color scheme dropdown to set the section's color scheme to Primary, Secondary or Tertiary. Refer to Customize color schemes. |
| Remove section | Select Remove section to delete the section from the current page template. |
![]()
Configure a logo inside a logo list section
A default logo list section contains five logo (blocks). To configure a logo block inside a logo list section:
Go to Customize theme. At the top of the page, use the dropdown to select a template that contains a logo list section.
From the side menu, expand the Logo list section menu.
To configure an existing logo block, select the Logo block from the side menu.
To add a new logo block, select Add logo, and then select the Logo block you added.

Note
Inside a logo list section, you can add, remove, show/ hide, or move blocks. Refer to Configure blocks inside a section, or Shopify help: Sections and blocks.
Apply a block setting described in the following table.
| Block setting name | Description |
|---|---|
| Image | Use the Image menu options to set up an image inside the block.
|
| Link (optional) | In the Link box, enter a URL for the button to use or select a store page to link to. To remove a link, select the X icon inside the text box. |
| Remove block | Select Remove block to delete the block from the current section. |
![]()